MODEL Y SUNSHADE INSTALLATIONUpdated 6 months ago
4771 Arroyo Vista, Suite D [email protected]
Livermore, CA 94551 1 (213) 340-1267
TESLA MODEL Y GLASS ROOF SUNSHADE
What’s included in the box: (2-pc design: x1 Front Sunshade; x1 Rear Sunshade; Clips;)
Installation Notes:
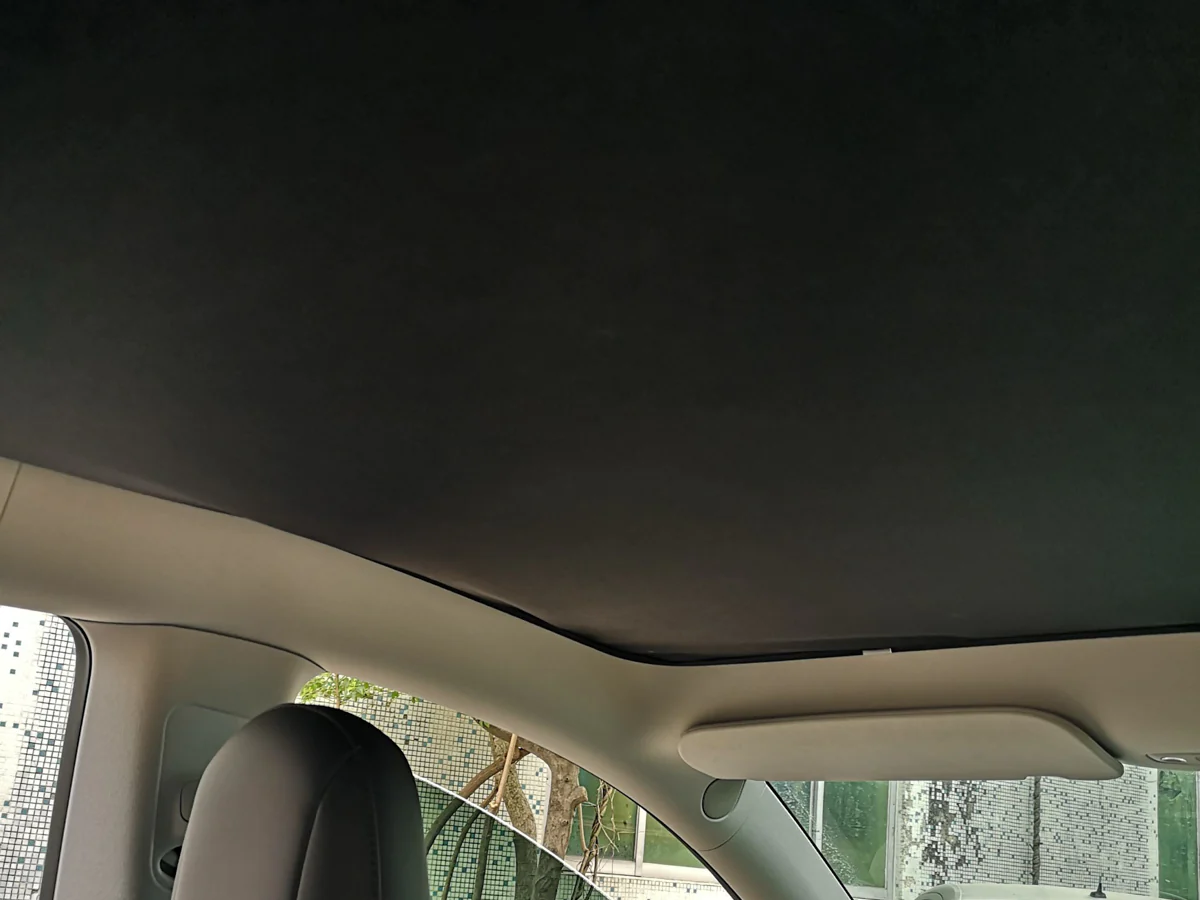
We moved to a 2-pc anti-sag design. Clips can be secured along the wire frame edges of the mesh and tucked between the glass roof and headliner.
Instructions:
Remove the sunshade from the black zipper pouch and extend the shade net to its uncollapsed form.
For an easier install, open the trunk and insert the sunshade from the back. Make sure to guide the sunshade carefully so that it hugs the corners.
Using the clips that are included with every order, fasten the shade net using the clips. We suggest using two clips on each side (not on the corners!) for a more secure fit.